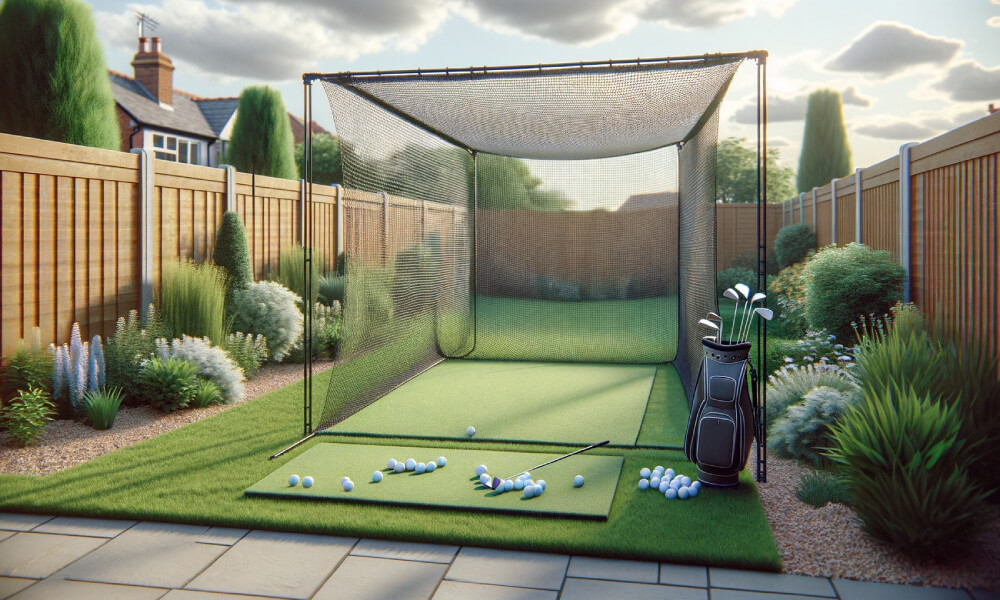
Don’t miss practicing golf at your home even if you have no simulator. Wondering how? Just get a golf hitting net, place it in any flexible area, take your golf clubs and start hitting.
That’s much simpler! You don’t have to pay for golf courses or wait to buy a simulator. You also don’t have to worry about your neighbor’s window.
But if you want to have more feedback, you can try hitting nets even with an indoor golf simulator. Try the best golf sims on the market.
Whether it is with or without a simulator, indoor or outdoor, golf hitting nets are the ultimate solution to practice golf. And you know what the best thing is?
You can build your own golf practice nets. Yes, you can do it yourself just by following some simple steps. Let’s know within minutes.
3 Methods to Follow for DIY Golf Nets
To make a golf hitting net, first, take some pipes and make a few poles, Build two single frames by using those poles.
Attach them together and make a square-shaped frame. Finally, hang the net down from the frame and anchor it with two shade cloths.
Tighten the net and clothes with some nylon tie cords. Your hitting net is ready.
Let’s be more specific. If you want an easier and quicker assembly, you just need five things:
Step 1: Make some Poles
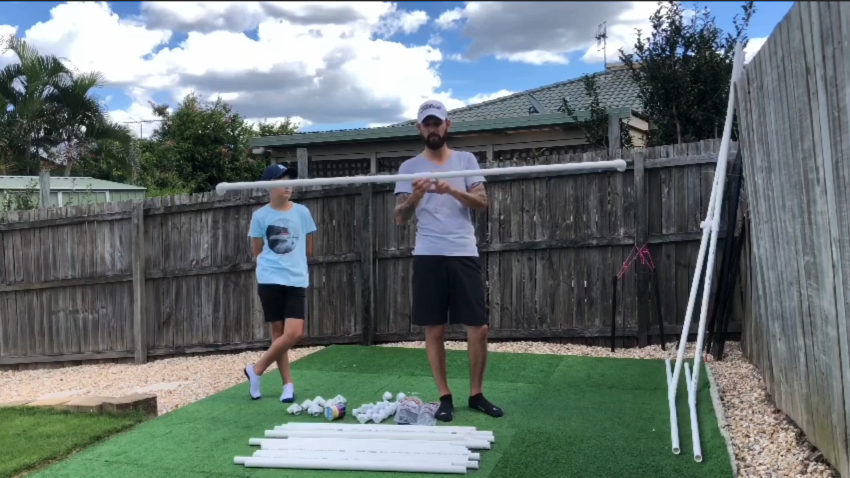
First, you need to make some poles to build the frame of the net. You can use steel tubes, wood beams, or any other sturdy material for the poles. We suggest PVC pipes for the easiest setup.
Grab 18 PVC pipes. Each of the pipes should be at least one meter long and 25 millimeters thick. Take six three-way joints and ten T-joints to adjust the pipes.
Now pick up fourteen pipes and make seven poles using two pipes for each. You can add some glue to the middle and edges of the poles. It’s optional as you have three-way joints that will ease your netting process.
You are done making the poles. Keep the left four pipes for the later steps.
Step 2: Build a frame
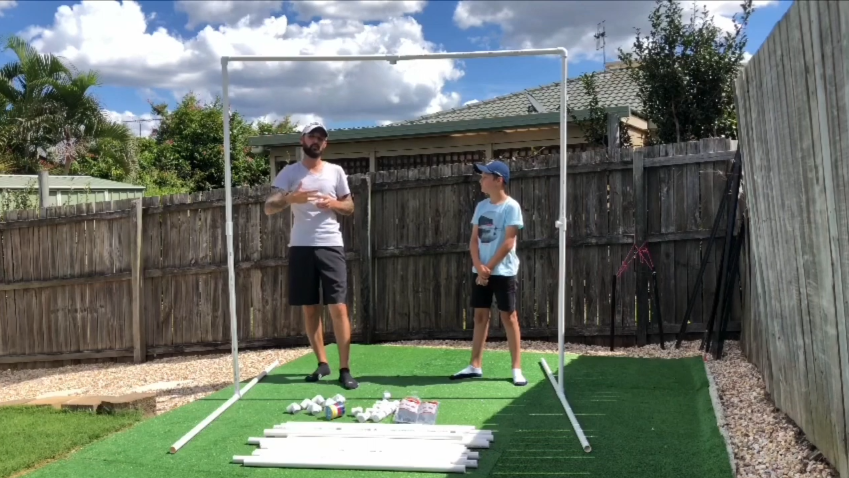
The second step is to build a frame from where you will hang the net down. To build the frame, first, keep the two poles straight and parallel.
Pick up another one and attach it with the top of the edges of those two poles. You get a single frame.
Do the same thing behind it. But now, just do a bit of extra work because you need four poles instead of three.
And after attaching the three, place the fourth one underneath.
It will be between the bottom edges of two poles. Place it in such a way that the frame can fit quite squarely.
Because it will prevent the net from shaking. Another single frame is ready.
You need to keep one meter of distance between these two single frames. Because now you have to attach them to the top and bottom with the left four pipes.
The three-way joints will make the frame look tidy up into the corners. Your frame is ready.
Don’t worry thinking that it’s too large or not flexible to carry. This shape is actually very portable.
If you are a woman, it will fit you too.
Step 3: Attach the net and shade cloth
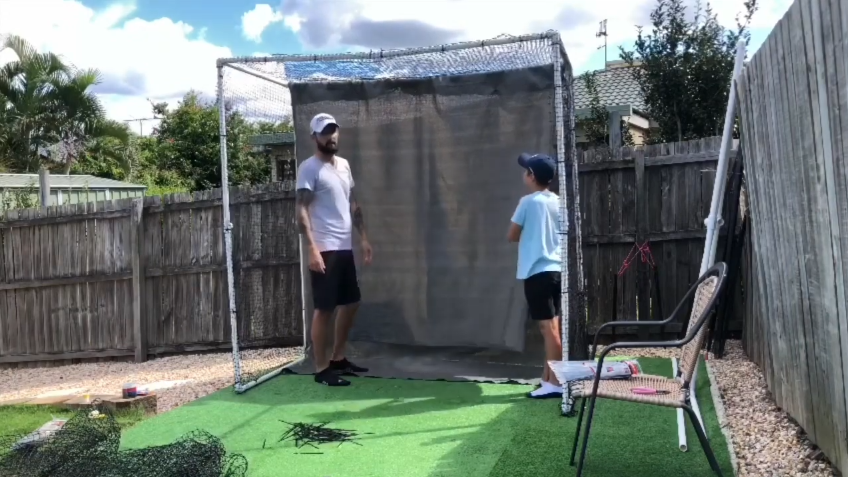
Before attaching the net, make sure the area you are going to hit into is secure enough and you are not going to have any golf balls flying through.
Keep in mind that it will be better if you can manage to use less net. Take some nylon tie cords about a foot long.
Use them in the poles to hang the net down. Don’t tighten the net too much.
It needs to be flexible to prevent the ball from returning at you just after hitting and to protect you from being injured.
Now, anchor your poles with two shade cloths. One should be a small piece and another should be equal to your practice net.
Attach the small piece at the bottom of your net. And attach the larger one before the practice net.
You’re done. You can use this net for a long time and place anywhere anytime. If you can make your golf practice net, you can try building a home golf simulator yourself.
Things to Remember at a Glance
- Select a secure area to make your net so that it cannot bother your neighbor.
- Build a large-shaped net that can prevent your ball from flying through.
- Check if the frame is square-sized so that the poles cannot shake.
- Make sure you are not tightening the net too much.
- Otherwise, it will return the ball at you immediately after hitting and make you injured.
- Take help from one of your friends or family members while attaching the nets. Two people can make the setup quicker.
Conclusion
DIY golf nets is as easy as making an enclosure. See how to build a golf simulator enclosure. Everything is in your hands.
Just you need to gather the accessories. and if you get such an easy process of building a practice net anytime at your home, what are you waiting for?
Start making your one and practice regardless of the weather.
Don’t forget to share after making a net following our tips. Also, suggest to us if anything you find easier than this.
We would be grateful to add that too.